Setting up MPLAB
- Project -> Project Wizard…

Figure 1: Main MPLAB interface
- Click on Next
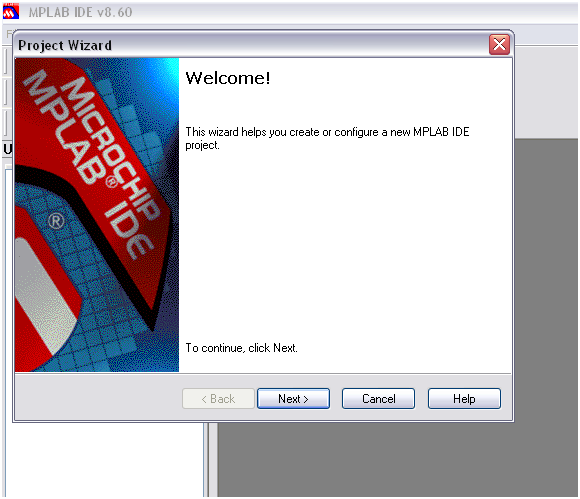
Figure 2: Project Wizard Interface
- The device needed has to be selected and click Next.

Figure 3: Selecting device

Figure 4: Selecting language toolsuite
- Save the new project files.

Figure 5: Creating a new project file
- If previous codes or the codes have been saved in the computer, add the codes using Add or remove using Remove. Then, click Next.
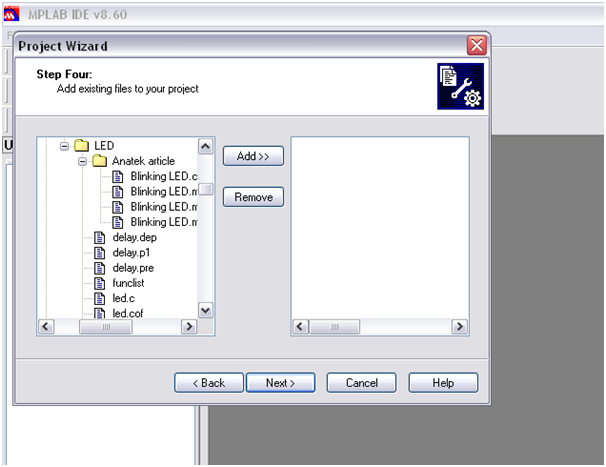
Figure 6: Add existing files to project
- Click on Next after confirmed the device and toolsuite has been correctly selected. If not, click on Back to edit.

Figure 7: Summary of the project created
- Click Save to save the workspace in the same directory with the same name.

Figure 8: Save workspace
Figure 9 shows you the interface you should get after performing the above steps.

Figure 9: Project view
- Source file is added by Right click on Source Files -> Add Files…
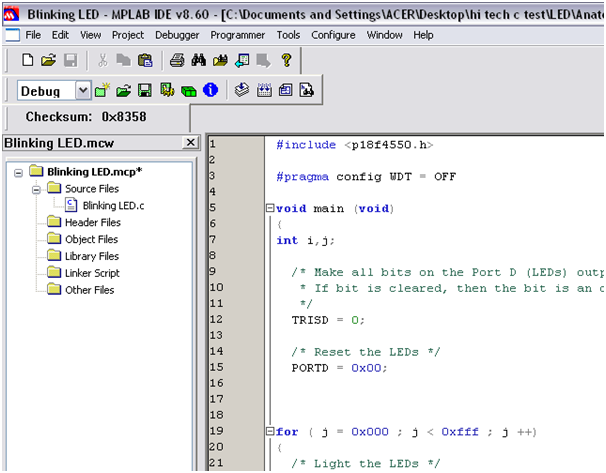
Figure 10: Adding source to project
- If other compiler is used instead of Assembly, then the Linker- Script Search location has to be added. This can be done by Project -> Build Options.. -> Project. By doing so, this will bring up Figure 11.

Figure 11: Linking the project to toolsuite linker file
- Select the Show directories for: drop down and select Linker-Script Search Path -> New and redirect it to ..\..\MCC18\lkr depending on where you installed your MCC18. For this example, C18 compiler is chosen.

Figure 12: Adding linker file to project
- Before building the program, the linker file for the chosen device has to be added as well in Linker Script folder as shown above.
Instead of just building the hex file to program the device, MPLAB also includes a simulator to simulate the program. The simulator can be selected by: Debugger -> MPLAB Sim.

Figure 13: Using MPLAB Sim and Breakpoint
- By clicking on the different line of the code, breakpoints can be insert. The breakpoints is used to halt the program so that the developer can view the content of the register through Watch. To bring out the watch window, View -> Watch.

Figure 14: Register view in Watch
Figure 15 shows the execution of the codes until the for loop with the green arrow indicating the current executed line of codes.
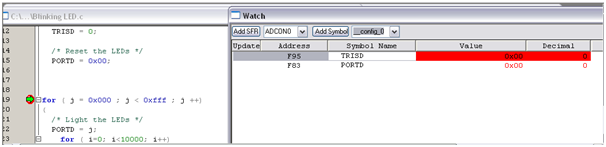
Figure 15: TRISD and PORTD initialized to 0
- By stepping through the for loop, the register values in the watch window changes. This will ease the verification of the code.

Figure 16: TRISD and PORTD values changes after step through
Conclusion
MPLAB is a great tool that in-cooperate the generation of hex for programming as well as debugging using virtual tool, MPLAB Sim or Proteus VSM plug-in. Additionally, MPLAB also provides an interface for programming using various microchip programmer from Pickit 2 to Real ICE.
No comments:
Post a Comment